
Set up your first Seyvd backup
Choose folders, add storage, set encryption and start a scheduled Mac backup.
In development. Not on the App Store yet.
Seyvd’s setup assistant connects four things: the files you want to protect, the place that will hold the backup, your encryption password and the schedule.
Seyvd setup on Mac
Mac
Start with the setup assistant
The assistant keeps the required choices in one short flow.
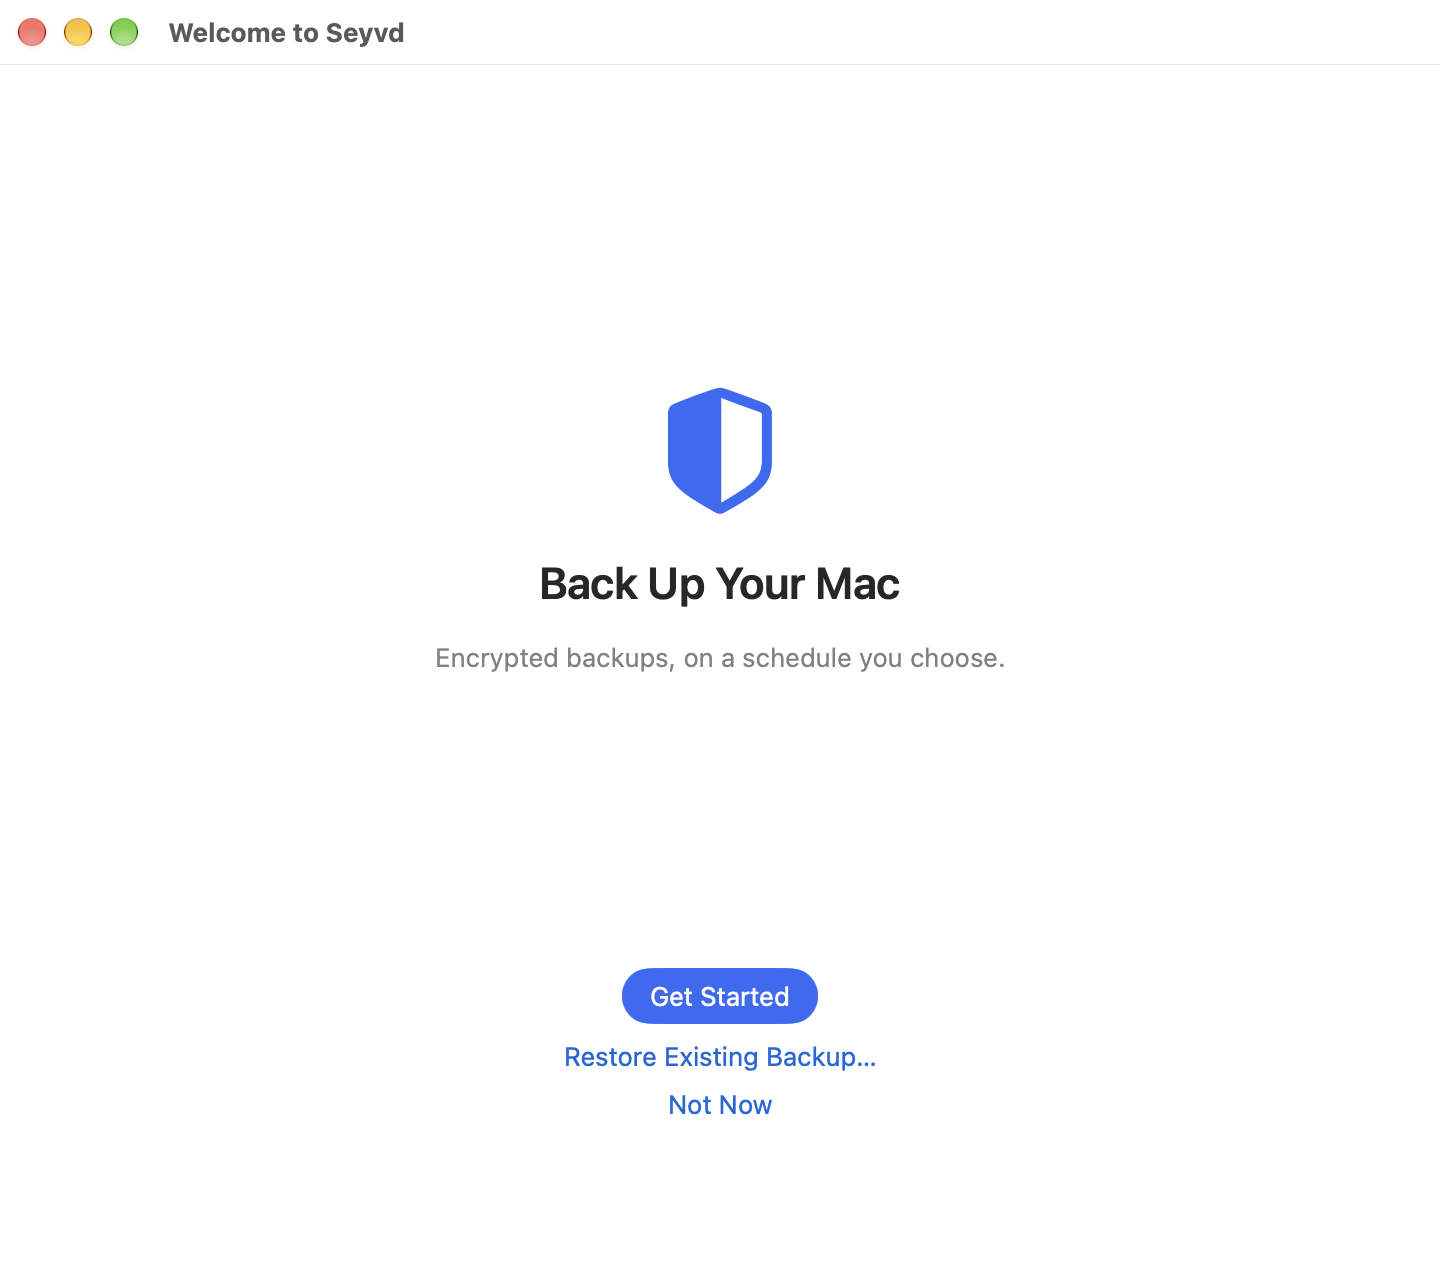
Mac
Choose what to protect
Add one or more folders before choosing storage.
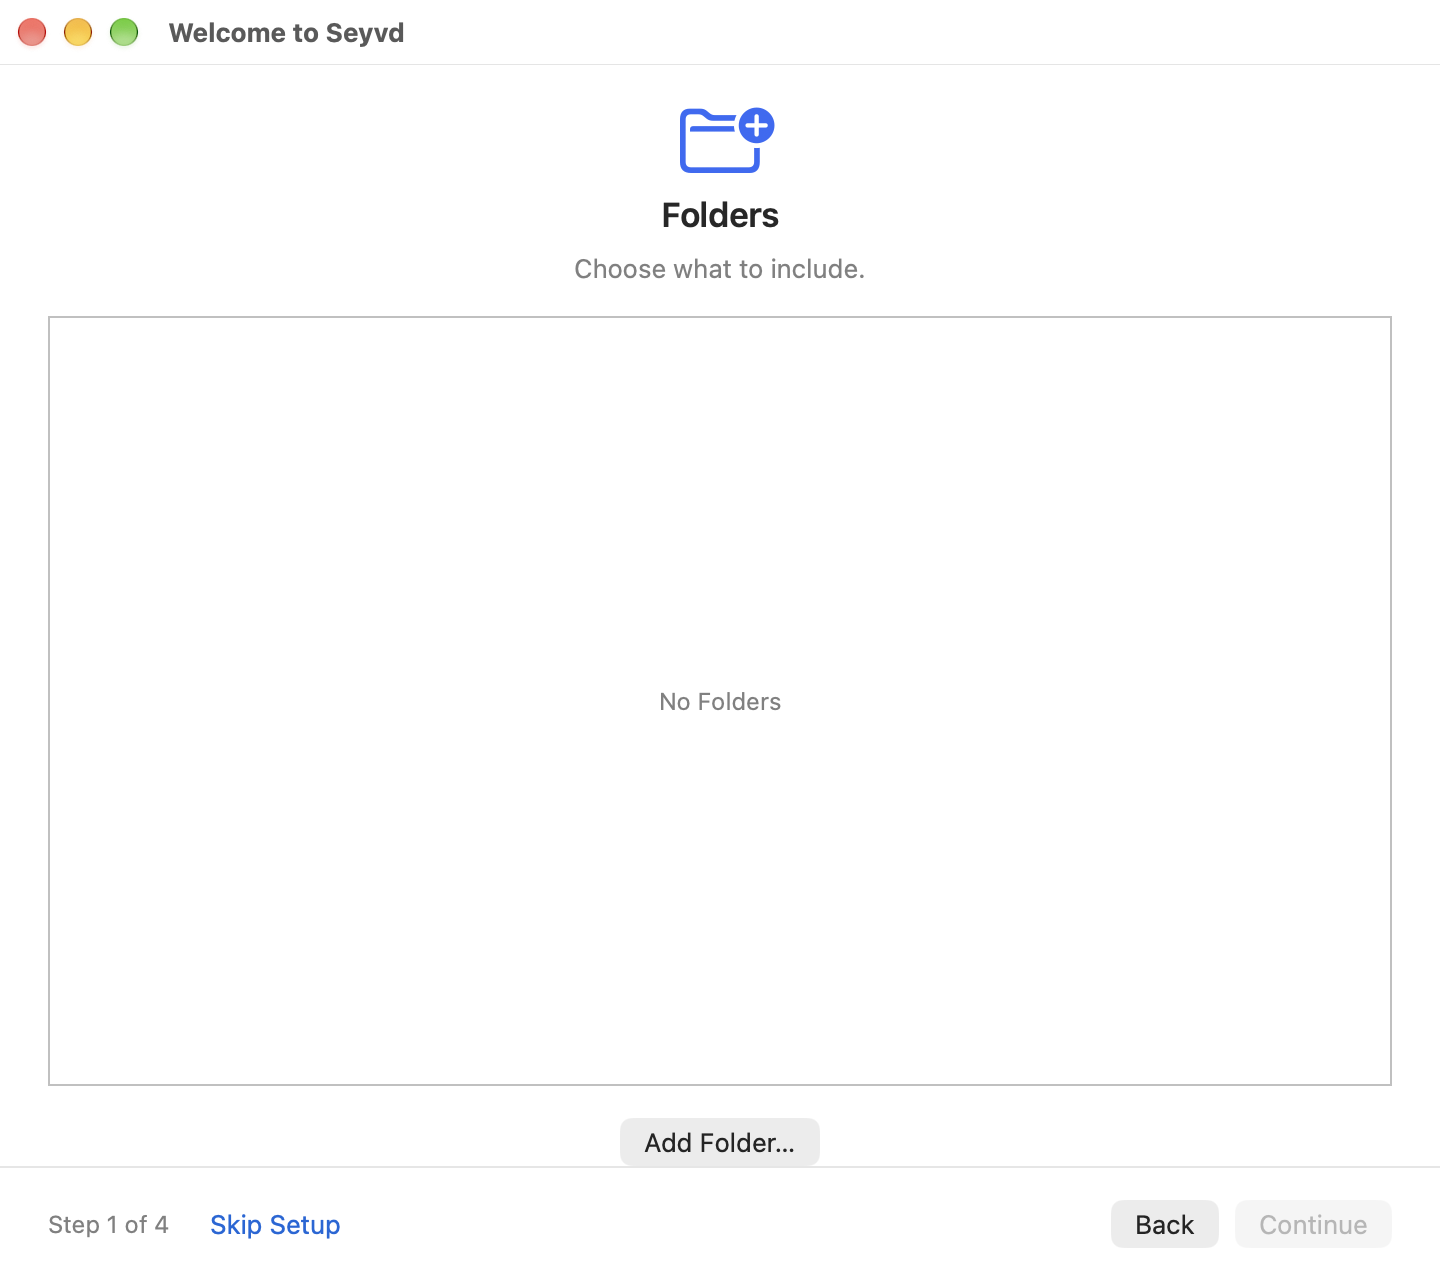
Mac
Choose where encrypted data goes
Use an S3-compatible service or a local folder.
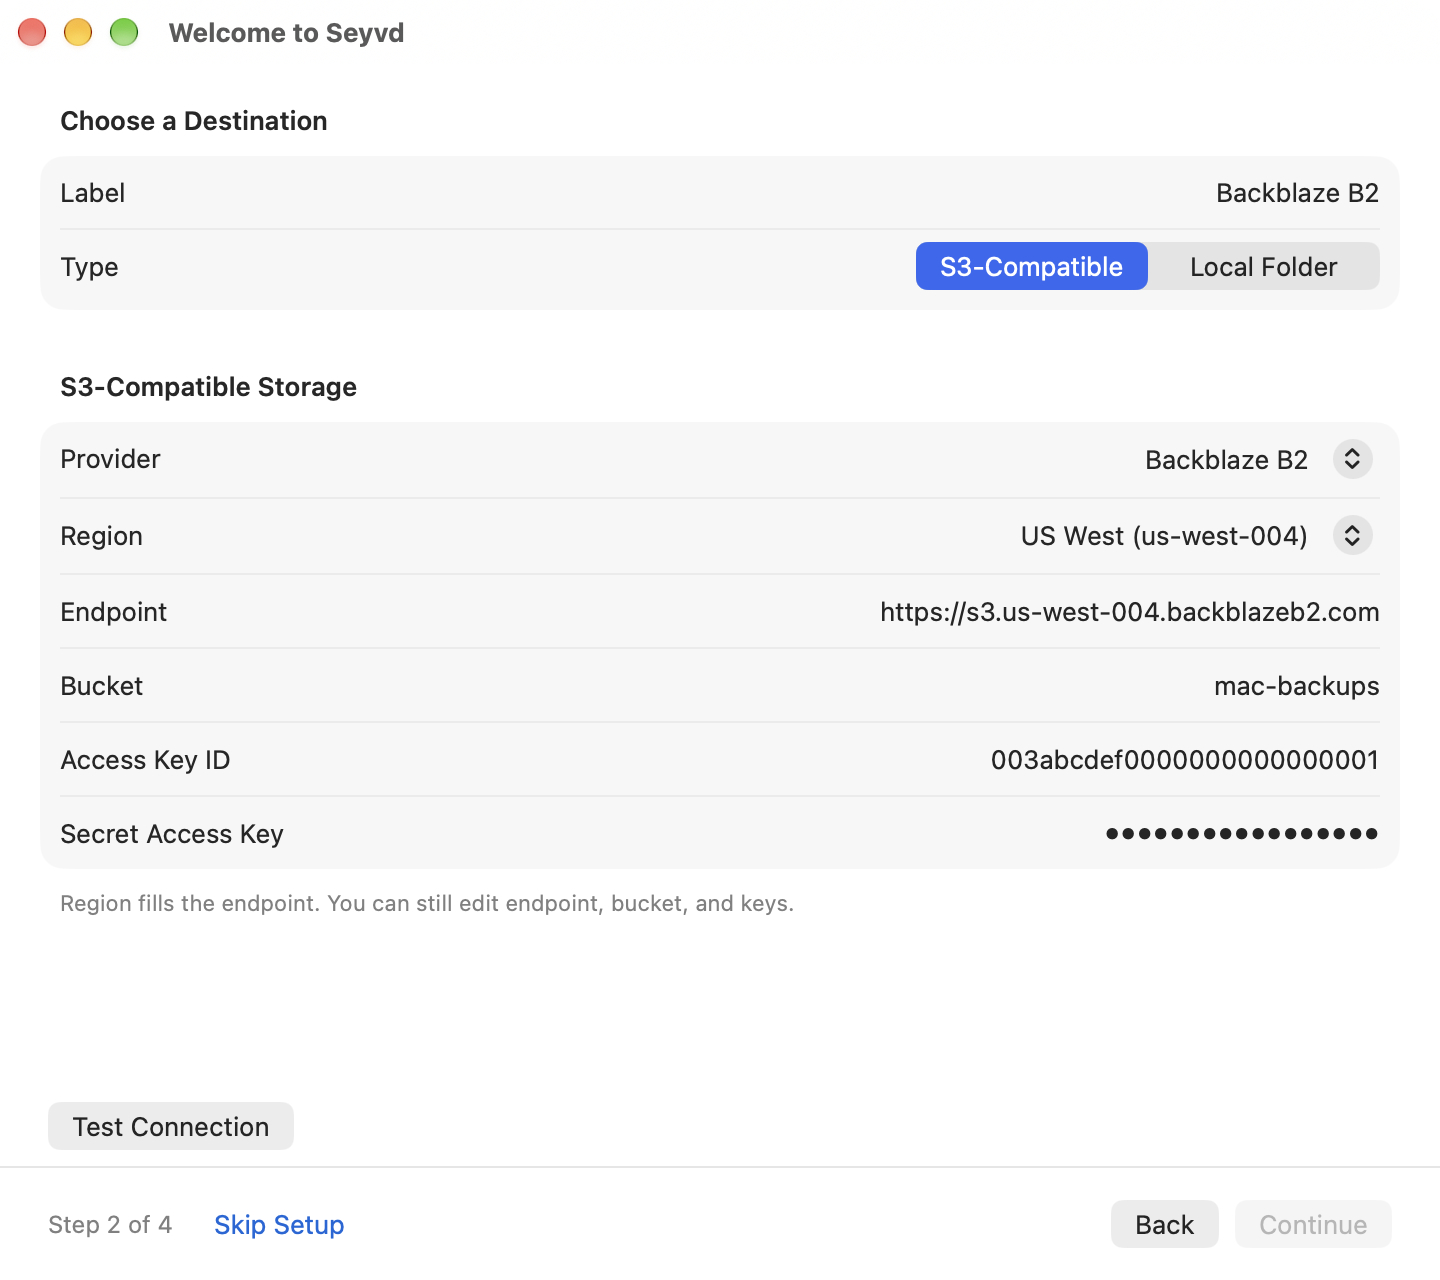
Before you begin
Have the S3 endpoint, region, bucket and access keys ready if you plan to use cloud storage. For a local destination, connect the drive or mount the network share first.
Set up the backup
- Open Seyvd and select Get Started.
- Select Add Folder, choose a folder and repeat for anything else you want to protect.
- Select Continue.
- Choose S3-Compatible or Local Folder.
- Enter a clear label and the storage details, then select Test Connection.
- Continue to encryption and set a password with at least eight characters.
- Save or print the Recovery Kit. Keep it away from the Mac being backed up.
- Pick an hourly, daily or weekly schedule.
- Select Start Backing Up.
Check the result
Open Health after the first run finishes. Setup, Freshness and Restore should no longer show a missing or pending state.